In quilting, perfection is the key. I mean, you will just want everything to go alright with your design. That is why quilters must display absolute shrewdness when deciding on the type of fabric they need for their next project. As if that’s not enough problem for them, they still have to brainstorm on how to get the right measurement for each part of their quilting.
The quilt binding is a delicate part of quilting work. You may be wondering why? Well, it is because it forms the frame for the edges of quilts; therefore, you wouldn’t want it to be too small or big, so it is essential to know the standard measurement for quilt binding.
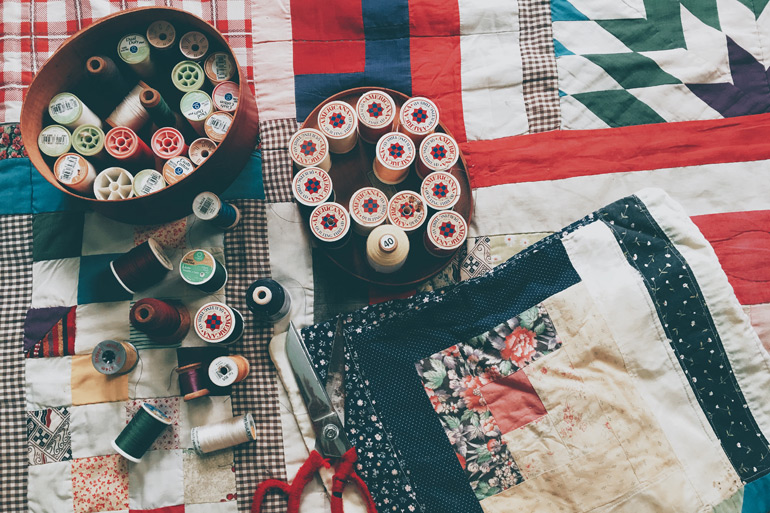
Unfortunately, not all quilters know how wide to cut quilt binding, but the good news is that this article contains some knowledge you need to have about quilt binding.
What width to cut quilt binding?
Unfortunately, this question does not tend to have a straightforward answer because the width depends on how big you want the appearance of your finished binding to be.
Most of the time, the finished binding is usually a quarter-inch wide on the front, while on the back, it is either it is wider than the front of the same size. However, if you are using a double-fold binding, the size should be within the range of 2 to 2 and a half inches.
Most common quilt binding width
There’s no actual width size of a quilt binding; that is, quilters always work with the standard size — half-inch or quarter-inch, which is why it is ubiquitous. What’s important is knowing what is best for you and settling for it. Here’s a valuable tip: do not make your width size less than a quarter inch.
What size should quilt binding be?
If the standard size does not work out for you because the quilt is big, then you can work with other quilt binding width sizes.
For large-size quilts, you can make use of 5/16 instead of 1/4 inches to keep the binding full. You can also work with other sizes like 17/8 inches as long as it fits perfectly into your design.
Best size for quilt binding
When working on a quilting project, it is best to use 1/4 inches as your binding width. This is because the width will make up for the 1/4 seam allowance that was initially taken up while working on the edges of your quilt.
Alternative quilt binding methods
- Instead of the regular mitered corners of a quilting edge, you can use a decorative stitch at the edges of your quilting project. This will save you from the hassle of thinking about the fabric to use as binding.
- If you are working on a small quilting project, you can also make use of fabric paint to add more color to your design.
- Hand embroidering is one of the most beautiful concepts you will see in the fashion industry. If you are skilled in the art, use a whipstitch or blanket stitch to make embroideries on the edges of your project.
- Another alternative is using the scalloped blade on your rotary cutter to make a decorative design on the perimeter of your small fused quilts.
What is the average width of quilt binding?
The average size for the width of a quilt binding is 2 or 2 and a half inches for a double quilt binding. However, the size may vary based on how you want your design to look.
How much material do I need for quilt binding?
To calculate the amount of material you will need for your quilt binding, first of all, get the actual figure of the perimeter of the quilt.
To get your perimeter, add 2 times the length and 2 times the width together, then add 10 to the answer. If you do not want to go through the calculation, you can just work with the assumption that you will need at least 7 strips of fabrics for your binding.
How do I cut the end for each of my strips?
There are two methods you can adopt to cut the end of the strip you are using for your quit binding. You will be provided the details about them below.
- After cutting off the selvages, position the edges of the binding strip angle of 90°. When you do this, and you attach the binding to the top of the quilt, it will leave lumps on it, provided that you are sewing across the width to join the strip together.
- Alternatively, you can also cut the edges of each binding strip at a 45° angle. This will help to remove the bulk that may result from sewing the edges just as described in the first method.
