Many people in my age bracket hearing or seeing the term “dressmaker sewing machine” for the first time would think it is a general term for describing sewing machines used by dressmakers.
Whereas dressmaker is the name of the first sewing machine manufactured by Singer in the year 1935: more or less the market name given to Singer’s 201 models when it was made available for sale.
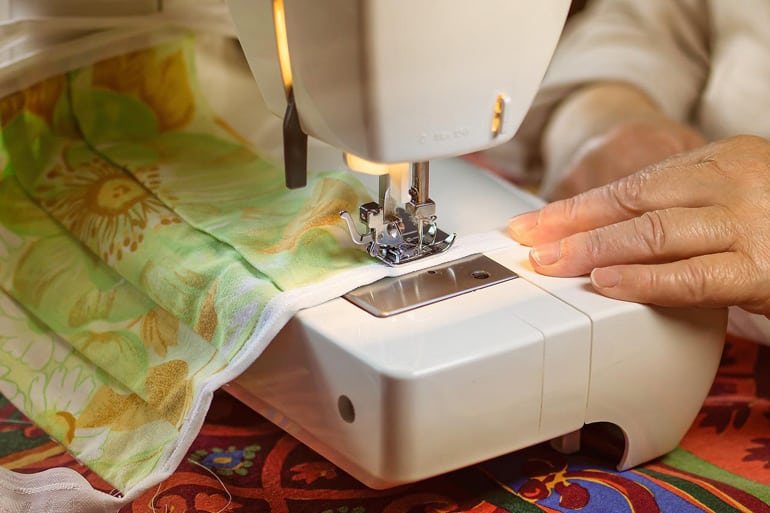
This sewing machine was renowned during its time for its peak functionality, and interestingly, you can still find this fantastic sewing equipment in the market today as a vintage item. However, many are skeptical about the efficiency of this old-timer machine and would often ask, are dressmaker sewing machines good? How much are they even worth? In this article, the answer will be provided to some of these questions.
Is the dressmaker sewing machine good?
Yes, the dressmaker sewing machine is good. When you see a dressmaker sewing machine for the first time, you can readily tell it is designed to be durable because its body is constructed with solid metal components and heavy metal cases.
Not only that, but when you finally get to use the machine, you will always find yourself talking about how you were able to do stitches with them with exact precision and how reliable they were.
Dressmaker sewing machine price range
The price of a dressmaker sewing machine ranges from $15 to $300.
How do you adjust the tension on a dressmaker sewing machine?
- Find the tension control knob on your sewing machine. Usually, it is the numbered knob with a screw on your sewing machine. This knob will allow you to set your sewing machine to different stitch types or lengths.
- If your top tension seems too loose, turn your machine tension control knob to the tight such that it will be turned towards increasing numbers. For instance, if the knob is set at 1, you can twiddle it to 2, then make stitches on any fabric scrap you can find to see if it is at your desired setting. If you are not satisfied, keep changing the setting with the knob until your stitches become even on both sides and the bobbin thread is no more visible on the fabric’s right side.
- If the top tension is rather too tight, adjust it to reduce the tension. To go about it, turn the tension control knob towards the decreasing number side. In this case, if the tension knob is set at 1, you can bring it lower by turning the knob to 1/2. Keep putting your control knob setting on decreasing numbers until the needle thread is no longer visible on your fabric’s wrong side.
- If, after several alterations to your top tension control setting, you are unable to achieve even stitches, then you can also adjust the bobbin tension.
- Locate the bobbin at the bottom loading bobbin, then try to draw out the hanging thread in the bobbin case to test if it needs to be adjusted. If it’s hard to draw, then the tension is probably too tight and needs to be slacked. If the hanging thread unwinds easily, then the tension is loose and needs to be tightened.
- Adjust the bobbin tension, and then turn the screw on the bobbin case a quarter turn to the left to decrease the tension and a quarter turn to the right to increase it.
- Test the tension by making stitches on scrap fabrics. If the stitches you make are even on both sides of the fabric, then the tension is rightly set.
How to oil dressmaker sewing machine
- Locate the arm cover of your sewing machine. It should be located above the needle and sewing arm. Once located, remove it from the machine by pulling it straight back and looking for the gear that propels the sewing arms inside the machine.
- Apply a few drops of the mineral oil on a cotton swab and rub it on the gears and every other component around it.
- Attach the cover back to the machine.
- Turn your sewing machine upside down and leave it in that position for some minutes to allow the oil to spread across the components and get deeper into the gear.
- Apply some oil to the cotton swab and rub it on the metal components outside the machine.
- Try to make some stitches on pieces of fabric for several minutes to help distribute the oil further. After this, your machine will be ready for use again.
How to set up a dressmaker sewing machine
- Disengage the hand wheel by pressing the inner button over it. And insert a spool of thread into the spool pin.
- Work the thread around the arm thread guide, and insert the thread end into the bobbin. Then, Insert the bobbin into the bobbin spindle.
- Create the bobbin by pressing the power pedal. Lightly hold the thread to break it while the bobbin is being made. Once the bobbin completes, the machine will stop.
- Pick the bobbin case and insert the bobbin into it, then guide the thread end through the slot below the tension spring.
- Move the needle by releasing the inner button of the hand wheel. Twiddle the hand wheel, then raise the needle.
- Raise the bobbin case so that it can be correctly placed. Slip the bobbin into the case and release the latch of the bobbin case.
- Insert the spool of thread into the spool pin and trace the end around the upper arm thread guide. Work the thread downward, in between the tension disc, moving from right to left. Then light pulls the thread to tighten the thread a little bit.
- Make sure the thread passes through the take-up lever of the thread, the check spring, and the needle. Loosely hold the thread, and then twiddle the hand wheel to allow you to thread the bobbin up around the face plate so that you can start sewing.
- Turn the drop feed counterclockwise to adjust the settings. This will allow you to move material freely as you sew.
- Turn the feed dial to help you adjust the length of the stitches. To activate reverse sewing, press the feed dial center.
Who makes a dressmaker sewing machine?
The Singer was the first to produce the dressmaker sewing machine in the year 1935. But in a more recent time (2014 precisely), EuroPro has started making the machine.
