If you want to become a pro in sewing clothes, the first thing is to know how to follow a sewing pattern by simply looking at its symbols and signs. A sewing pattern is a guide or instructions manual that gives you proper instructions on how to assemble different parts of the fabric to make it a full-fledged dress.
In simple words, a sewing pattern is simply a template that is placed on the fabric. The pattern is made of paper which is traced and the fabric is cut just according to its shape. The pattern also has different lines so that you can adjust, cut, and sew clothes according to the shape and size that fits you absolute best.
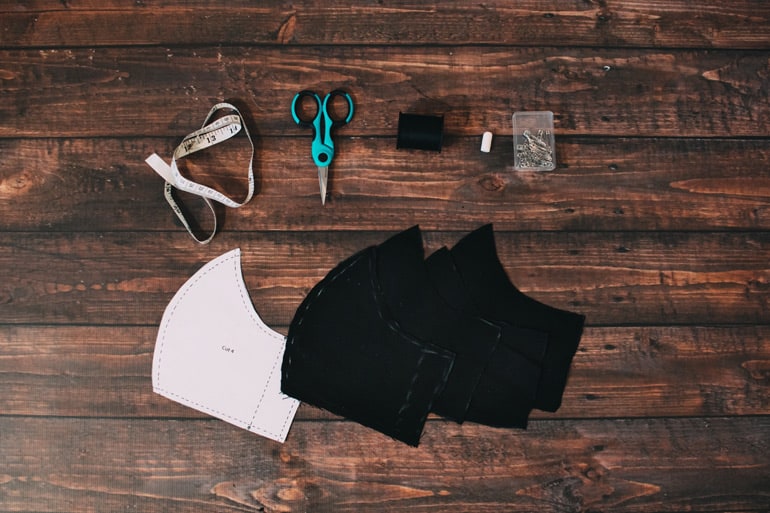
Although all these things feel quite attractive and good to hear, there are some symbols and terms that you may not understand while analyzing the sewing pattern for the very first time. One such thing that bothers most is a centerfold and you may wonder, what does centerfold mean on a sewing pattern? Well, we will go through all major symbols and their meaning while also giving a brief explanation of how to follow a sewing pattern.
Where to find sewing patterns?
Sewing patterns can be bought from any traditional sewing store, or pattern manufacturing company, while you can also get these from the stores of clothing brands as well.
You simply go and tell them the design you want and they will bring you all related patterns to choose from. If you go online, the patterns will come directly to your home in an envelope.
Digital patterns are usually printed by common people by offline means and companies hire such persons. Companies take a master pattern and then make many sub-patterns just derived from it which results in an overall collection.
What is the centerfold on a sewing pattern?
As its name suggests, the centerfold of a sewing pattern is the exact central point of a folded piece of fabric. It is a point usually denoted by two arrows with attached ends. It will give you an idea of where you should fold the fabric.
The technique is that when you fold the sewing pattern into half, the centerfold should be right at the bottom edge of the fold. We can say that centerfold is the point where you will get two mirrored fabric or sewing pattern parts when folded.
What is cut 2 on a sewing pattern?
As the name itself suggests, Cut 2 is an indication that you need to cut the fabric right at this spot. Cutting at this point will bring you 2 pieces of same size and shape but in mirrored form.
Cut 2 is no different than centerfold as both the points come at the same edge. Just like centerfolds, the center of the folded fabric, cutting at this fold will bring you two pieces of fabric in opposite directions.
Do you lay a pattern on the wrong or right side of the fabric?
The sewing pattern will always be placed on the right side of the fabric; however, the right and wrong sides of the sewing pattern will be determined according to your activity. It depends on how many layers of fabric you are cutting according to the sewing pattern.
You need to place the printed side up of the sewing pattern while cutting two layers of fabric. While cutting only one layer of fabric, the sewing pattern will be placed printed side down or toward the fabric.
What does a grainline mean on a sewing pattern?
Grainline is the weave of the fabric and is made according to the pattern used in the making of fabric. In simple words, grainline is the direction in which the fibers or threads are running in the fabric.
Giving attention to the grainline while cutting fabric is essential because cutting opposite or against the grain line will affect the fabric’s behaviour once it is sewn.
What is the meaning of selvage in a sewing pattern?
Selvage is a term used a lot of time while you are reading a sewing pattern. Actually, slevage is the area between the narrow strips or thin border lines that goes straight down along with the length of fabric edges.
Selvage can be in different forms as some companies add it in a slightly different texture or weave of the fabric while others put it inside a different color or simply put a text mark using a fabric marker. You should know where there are selvages in your swing pattern before cutting the fabric.
Do grain lines run parallel to selvages in a sewing pattern?
Mostly and commonly Yes. Grainlines run parallel to selvage in a sewing pattern which makes reading the pattern and understanding it a bit easier.
You simply put the sewing pattern align it with the grainline of fabric and start cutting out while moving parallel to the selvages. This is also a great indication for cutting on the right side and in the right direction.
What happens if you sew the pattern against the selvages?
Sewing the fabric or the pattern against the grainline will ruin the whole charm of your end product. The fabric will not drape or hang just as it is supposed to.
Greenlines give a beautiful look to the fabric but if you sew it against the grains, it will simply look like you are wearing some stiff fabric that is either not sewn well or doesn’t look good on you. It is just like writing a text on vertical lines while holding a textbook in a horizontal position.
Can you cut out the sewing pattern?
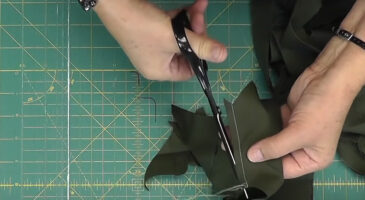
You may cut out these sewing patterns as it will make the further process of cutting fabric easy for you. You can easily place separate parts on the fabric, trace them, and cut them accurately.
However, it is always recommended to cut with proper care along with the selvages and lines drawn on the sewing pattern. Although it will not affect the shape if you skip the straight lines, having a difference or millimeters can sometimes affect your dress’s overall beauty.
What is the meaning of one arrow grainline on a sewing pattern?
The arrows and their heads specify the direction in which the sewing pattern or fabric can be placed. If a point on a sewing pattern has only one-sided arrow, it means that you can only place the pattern in that one particular direction.
However, some points on the pattern will have two-sided arrows which indicate that you can place the sewing pattern on the fabric in either direction you like. This thing is usually considered while working on fabrics with naps.
What are the basic symbols used in sewing patterns?
Although there are many symbols, signs, marks, texts, and lines drawn on sewing patterns to indicate each minor to major detail with proper grainline, below is a list of some of the most common ones used in sewing patterns. You should have a proper idea of what these symbols indicate before you start following a sewing pattern.
- Straight lines (the border or outer edge of the pattern)
- Dashed lines (indicate the seam allowance or stitching line)
- Dashed+Dotted lines (indicate the center front and center back of the fabric)
- Parallel double straight lines (marks the area to cut on either line depending upon whether you want to lengthen or shorten the sewing pattern)
- Dashed and solid lines with an arrow (indicates the fold pleats)
- Double-sided arrows (indicates the grainline of fabric)
- Crossed circles (indicates the center of the bust point, if you don’t know about Bust Point, check out our article on How to increase the bust on a sewing pattern?)
- Barred line or capital I’s (marks the area to make buttonholes)
- X (the point to sew button)
Is the selvage edge always placed straight?
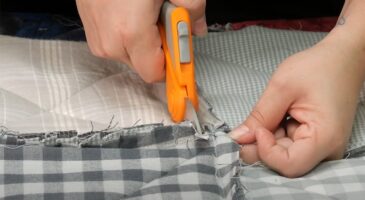
Yes. Selvage edge is most of the time a straight line and goes in a single direction. You can simply place the scissors and start cutting them straight until you reach the other end of the line.
Some places or sewing patterns may have minor waves in the selvage but in the end, it will also be a straight line just like the border of fabric.
How to Follow a Sewing Pattern the right way?
This is more than important because when you know how to follow a sewing pattern, you can quite easily sew your clothes without requiring any additional help.
However, the process is a bit long. You need to learn the symbols and read the sewing pattern. Below is the brief procedure of following the sewing patterns in order.
- Have accurate measurements of your body that you can match with the sewing pattern measurement as they vary in many aspects. You can check out the sewing pattern size and measurements by looking at the back side of the envelope.
- Thoroughly read every single line of instructions mentioned on the sewing pattern instruction label. Read the whole procedure before you start cutting the fabrics.
- Know about different symbols, lines, texts, shapes, and signs on the sewing pattern. You cannot even take a single step until you have proper knowledge about each symbol used or mentioned on a sewing pattern.
- Analyze whether your sewing pattern is indicating seam allowance, if yes, well and good but if it’s not, you need to leave the seam allowance at every edge of your cut parts of the sewing pattern.
- Determine the slave gas and grainline in your sewing pattern. It’s essential to cut the fabric in the right direction so that you can enjoy all its chatcetsics of drape, tension, stretch, and charm. Determining the grainline will also give you an exact idea of how the fabric will be cut and sewn.
- Once you have cut down the sewing patterns into different parts, place each part on the fabric and start cutting it accurately.
- Once you have cut all the fabric parts, now it’s time to simply assemble them all and start sewing on your sewing machine. You should mark or keep an indication to remember which cut parts will be placed with which one of the fabrics while sewing. While cutting and sewing fabric, it is recommended to keep notes on the sewing patterns to avoid mistakes.
FAQs
What angle is true bias?
True bias is a term used for grainline patterns in some specific kinds of fabrics. It is when grain runs at a 45-degree angle across the fabric weave, of course diagonally.
Such fabric is made in this way because when you cut the fabric along with the grainline, it gives extra stretch, drape, and fluidity to the end product by reducing the tension on and from the fabric weaves.
